We got a lot of good feedback from our “How to make a bracelet from items found in MC Home Depot” feature, so we decided to feature the “other” bracelet that made that day but just didn’t have the space to feature.
- Materials:
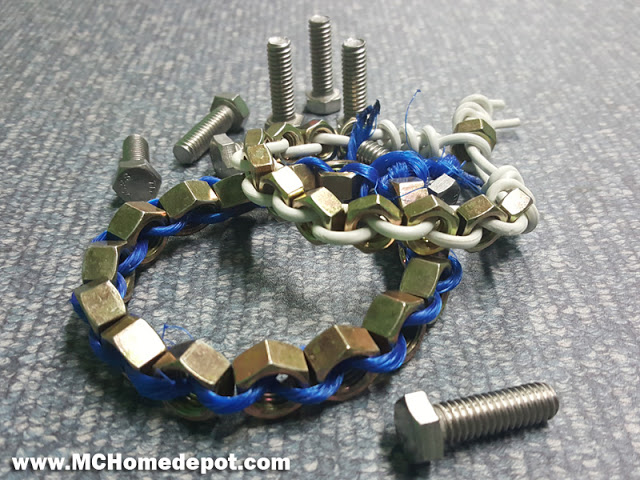
- 1 meter of Flat cord – though as you can see from the above picture, we did again experiment with polystyrene rope (AKA common clothes’ line). The length will also be up to you and dependent upon how flexible the rope is. Because we’re using wire, the actual length required will have to be eyeballed as electrical cord tends to not be as malleable as string or cord resulting in some bunching up.
- At least 10 nuts from a bolt and nut set. The actual quantity depends upon your personal preference.
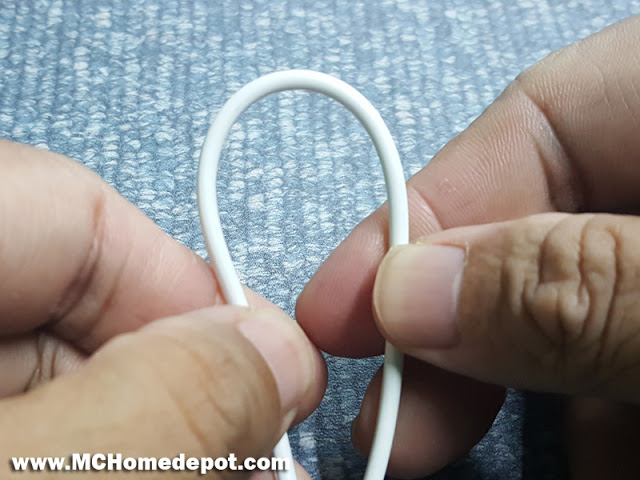
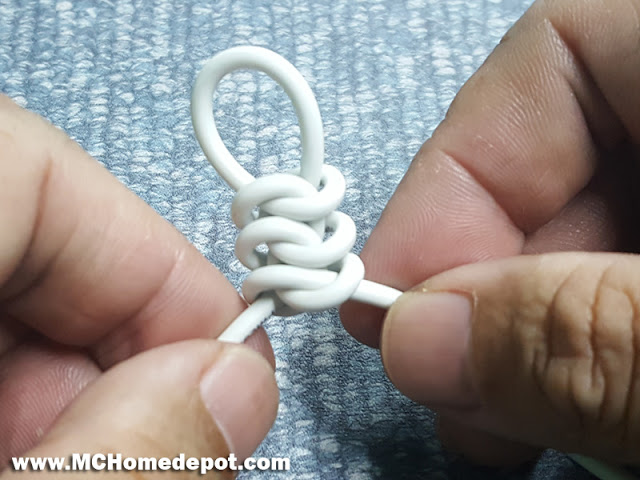
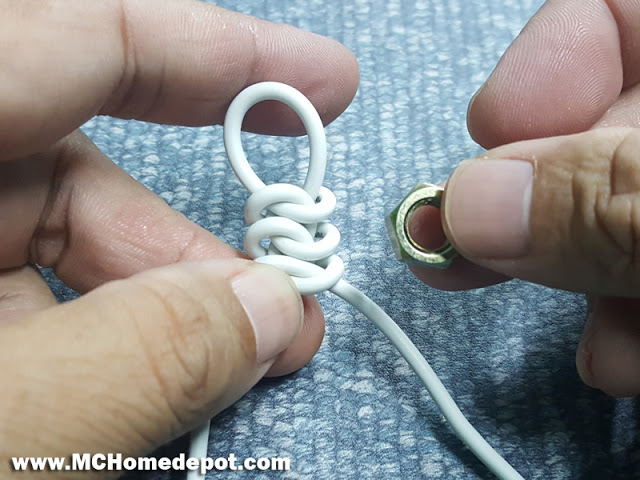
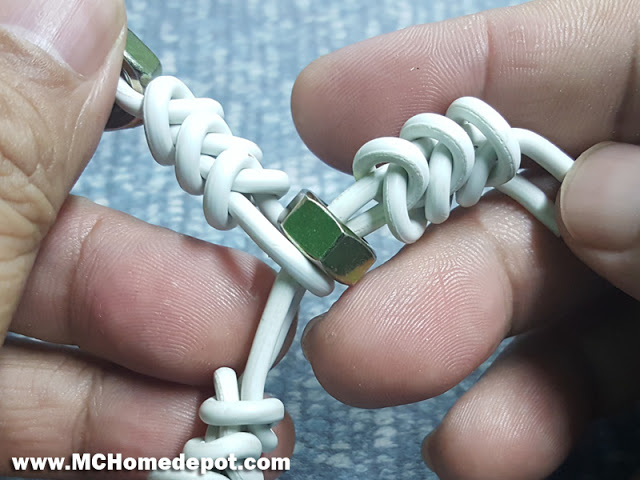
STEP 1 – Start again with a basic loop at the center and seal the loop with a “Snake Knot”. Instructions on how to make a “Snake Knot” can be found here.
STEP 2 – Personally we stopped at 3 “Snake Knots” That should be strong enough to hold the bracelet together. You can do more if you like – or less but we wouldn’t recommend it. You can even alternate the placement of nuts with “Snake Knots” as a design variation.
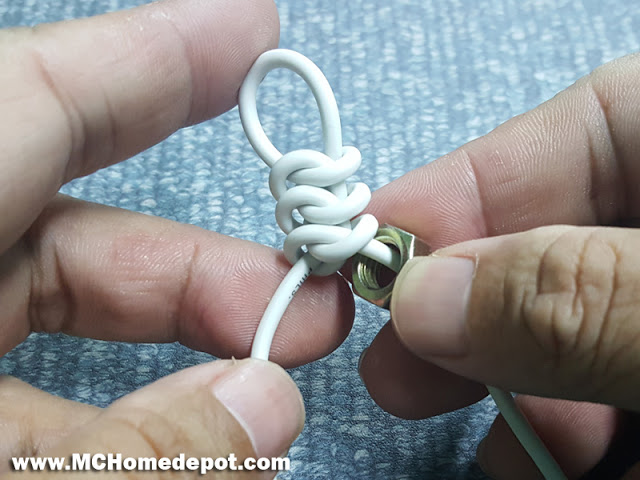
STEP 3 – Insert a single nut and thread the loose cord through the opposite side of the nut:
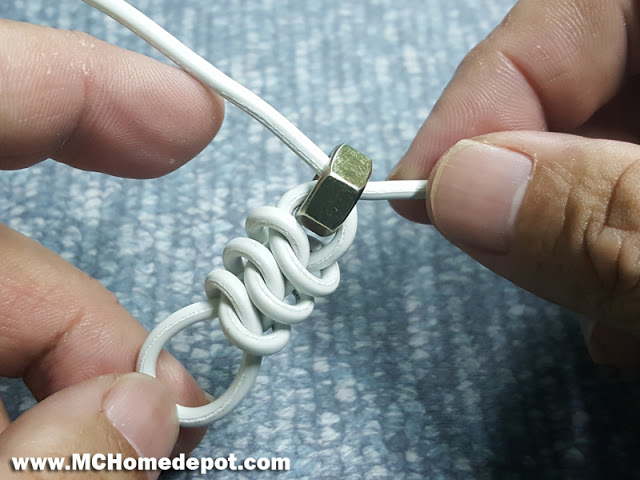
STEP 4 – Insert as many nuts as you want or need. Again you can alternate the nuts with “Snake Nuts” if you want. It is important though that you alternate which cord goes over the other or the bracelet will corkscrew – which come to think of it is an option.
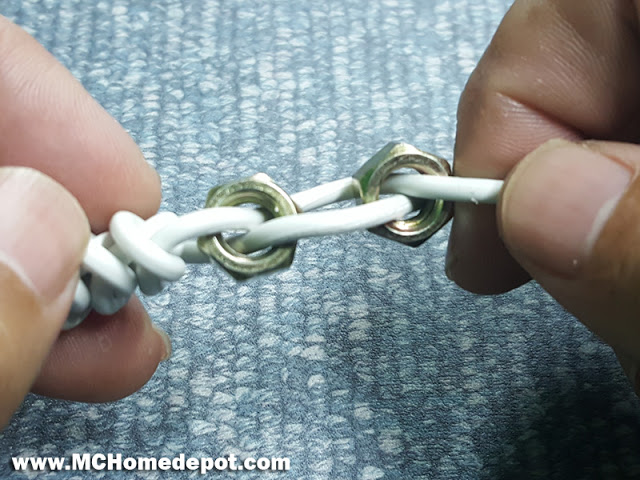
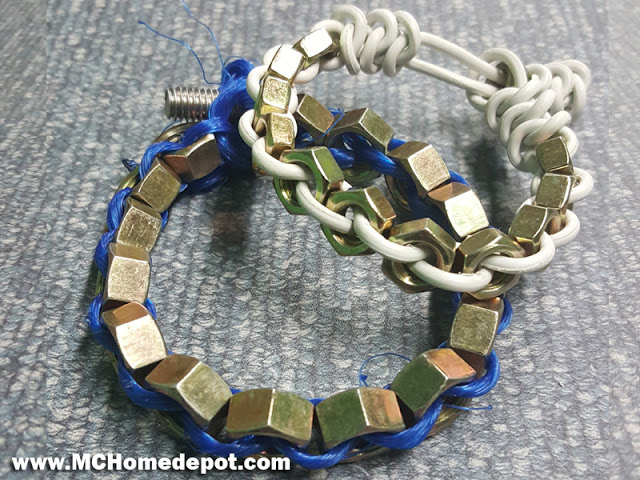
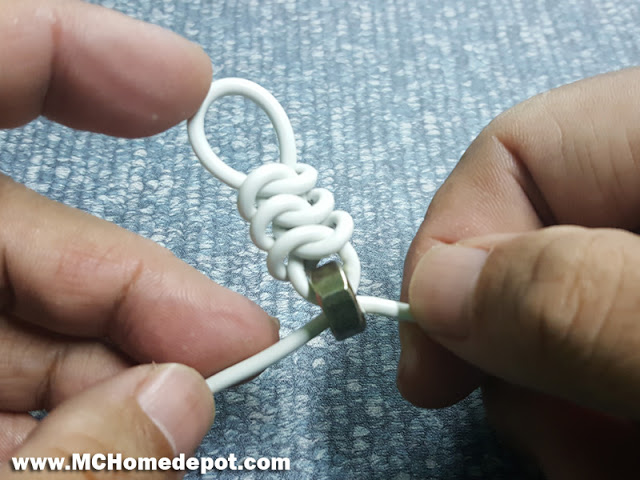
The end result should be this chain-like pattern:

STEP 5 – Seal the bracelet with another nut – which should allow for a modicum of give so that you can slip the bracelet on – and another series of “Snake Knots”
Finished:
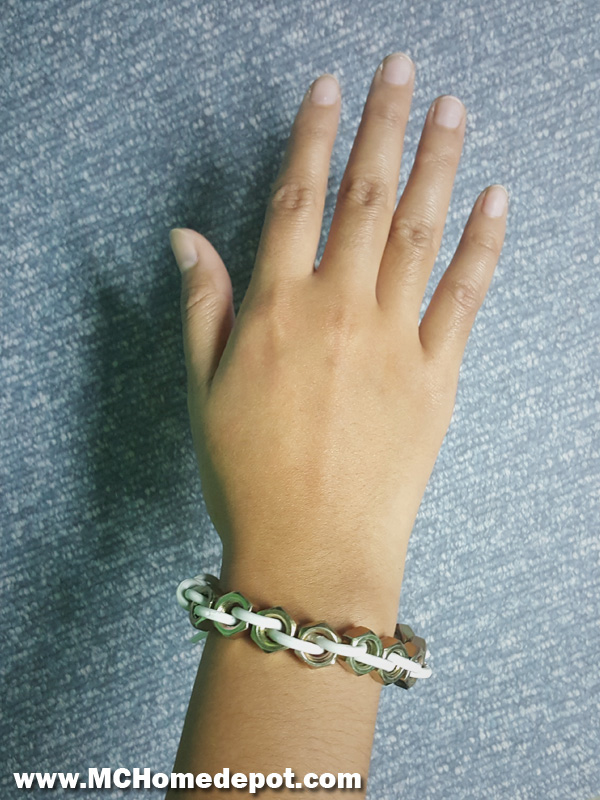
Again feel free to play with different materials and nut sizes.